

This will be a brief tutorial on how to write a React Native application, using Expo, that implements Social Authentication, using Google. We will use ExpressJS and Passport in the backend to manage the authentication process. We will assume that the reader is already comfortable with React Native and Express and that they are also proficient with Typescript.
Designing the Application
Our client wants a mobile application that allows people to login using any of the major social networks and which feeds authenticated users a random message. Because we will set up everything to be easily extensible we will only implement one of the social authentication providers (Google), as that is enough for an exercise. The application must therefore consist of two screens:
- Login screen: where the login workflow occurs.
- Home screen: where the user can obtain the random message.
The backend must implement at least the following two endpoints:
- POST
/api/v1/auth/google: If the login attempt was succesful the mobile device will receive a Google ID token. That token will be sent to this endpoint to trade for a valid session token. - GET
/api/v1/message: where authenticated users can obtain a random message.
Notice that we do not use the Google ID token as the session token for several reasons. First, it will require us to perform an authentication check on each API call to the Google backend, which will slow down the server response time. Second, Google ID tokens are usually short-lived, so users will be forced to login again after a short amount of time. Third, because we want multiple login providers, trading provider-specific ID tokens for application session tokens simplifies authentication workflows on restricted endpoints.
Creating the Login Screen
Start by scaffolding a React Native/Expo App with Typescript. You are going to need to run the following command in order to install the necessary dependencies for social authentication.
1
expo install expo-auth-session expo-web-browser expo-random
I also like adding React Native Paper for some nice GUI elements, React Navigation for the navigation provider and Redux to use as a global state store.
Once you are ready, create a LoginScreen component as follows:
1
2
3
4
5
6
7
8
9
10
11
12
13
14
15
16
17
18
19
20
21
22
23
24
25
26
27
28
29
30
31
32
33
34
35
36
37
38
39
40
41
42
43
44
45
46
47
48
import { StackScreenProps } from '@react-navigation/stack';
import * as React from 'react';
import { StyleSheet } from 'react-native';
import { Button, Title } from 'react-native-paper';
import Container from '../components/Container';
import { RootStackParamList } from '../types';
import useGoogleLogin from '../hooks/useGoogleLogin';
import { useSession } from '../store/selectors/session';
export default function LoginScreen({
navigation,
}: StackScreenProps<RootStackParamList, 'Login'>) {
const session = useSession();
const [loadingGoogleLogin, promptGoogleLogin] = useGoogleLogin();
React.useEffect(() => {
if (session) {
navigation.replace('Home');
}
}, [session]);
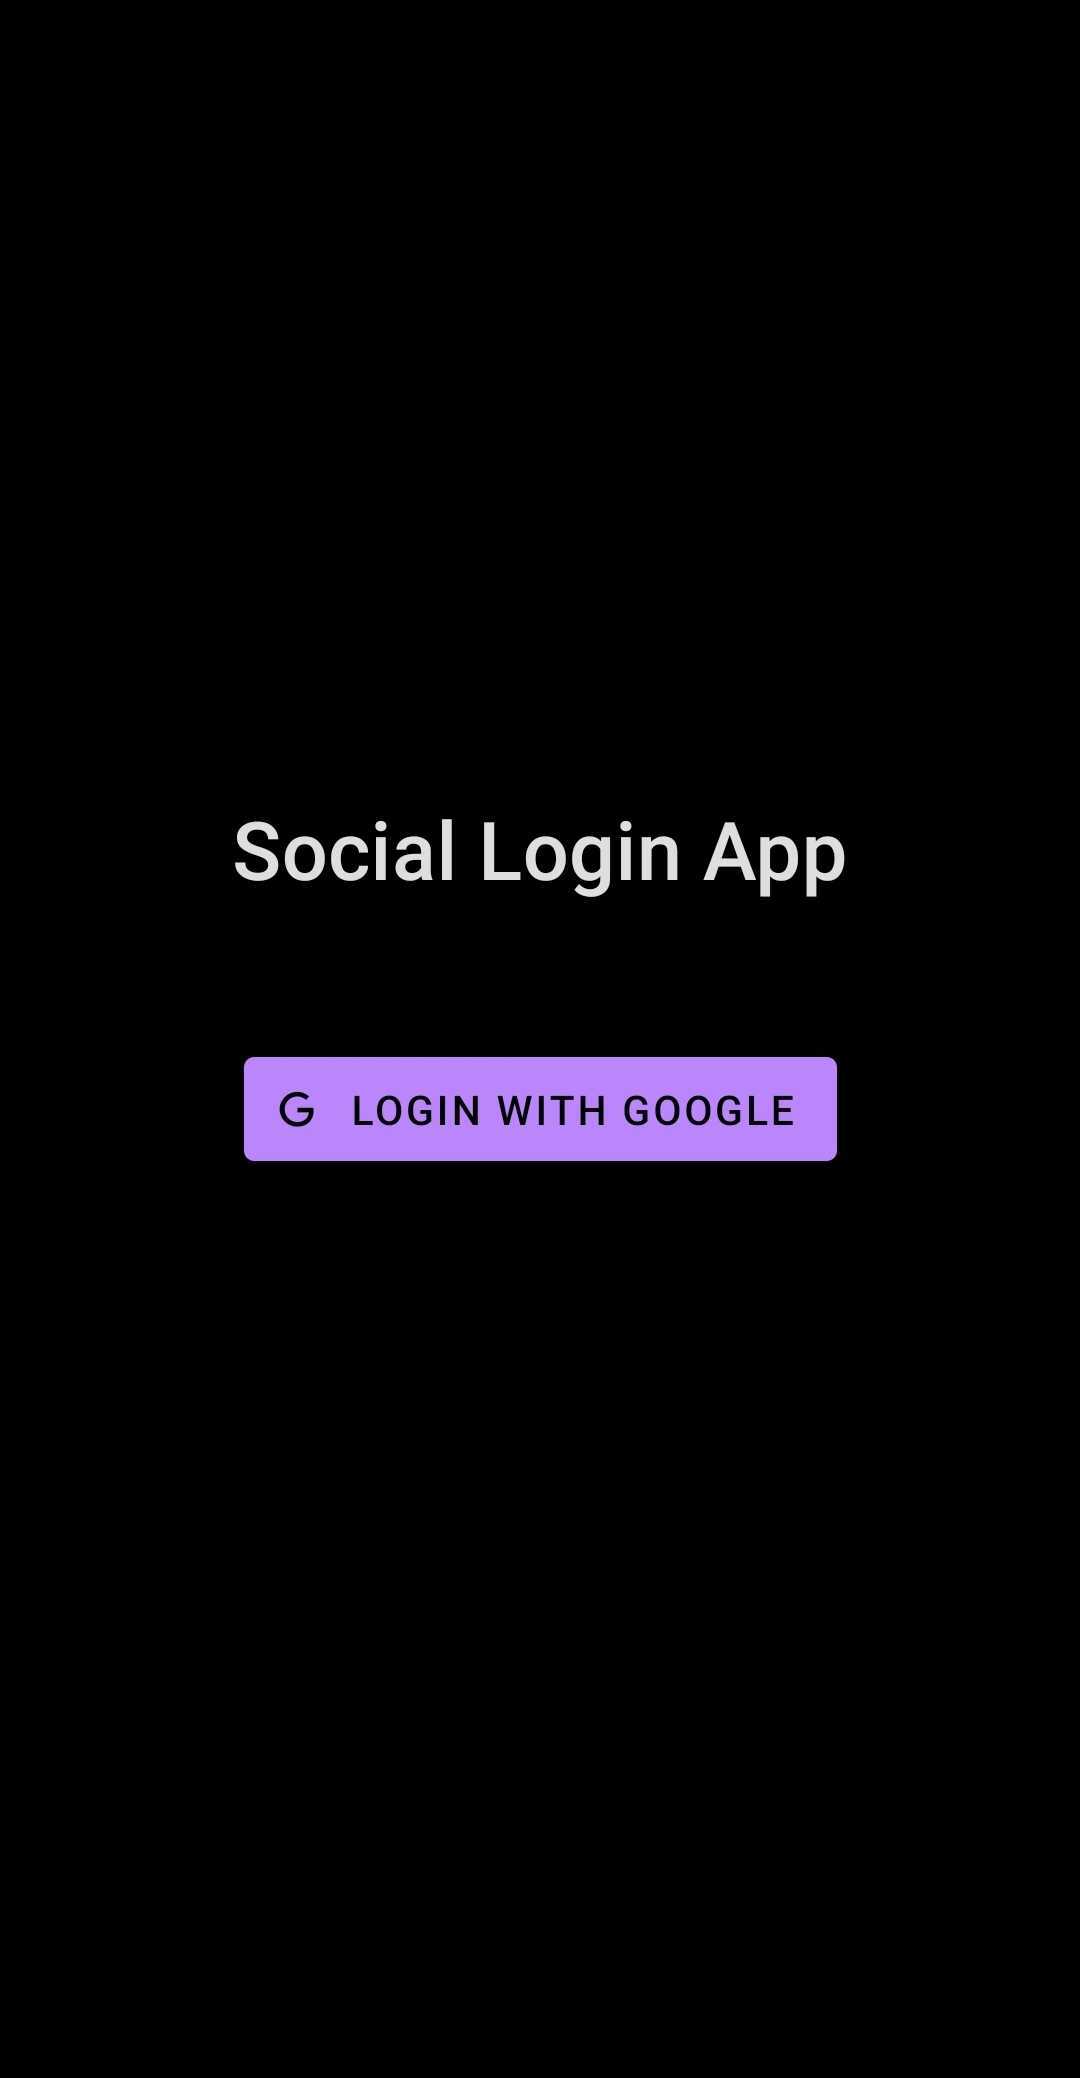
return (
<Container style={styles.container}>
<Title style={styles.title}>Social Login App</Title>
<Button
disabled={loadingGoogleLogin}
icon="google"
mode="contained"
onPress={promptGoogleLogin}
>
Login with Google
</Button>
</Container>
);
}
const styles = StyleSheet.create({
container: {
padding: 20,
justifyContent: 'center',
alignItems: 'center',
},
title: {
fontSize: 28,
marginBottom: 60,
},
});
The important aspects of this screen are:
useSessionhook: trivial state selector that checks that the session exists in the data store and hasn’t expired. Returns the session if this holds, otherwise it returns null.useGoogleLoginhook: Handles the Google Login logic on the mobile side. Returns two values to be used by the frontend.loadingGoogleLoginwhich is a boolean value that tells the frontend whether Google Login is running in the background, andpromptGoogleLoginwhich triggers the authentication workflow.React.useEffectcall: If it observes that the session changes to a non-null value, then it moves the user to the Home screen. Notice that if the application is closed and opened again this piece of code will redirect the user to the Home screen if we persist the data store.
Let’s dive deeper into the useGoogleLogin implementation:
1
2
3
4
5
6
7
8
9
10
11
12
13
14
15
16
17
18
19
20
21
22
23
24
25
26
27
28
29
30
31
32
33
import * as Google from 'expo-auth-session/providers/google';
import * as WebBrowser from 'expo-web-browser';
import * as React from 'react';

import { GOOGLE_CLIENT_ID } from '../constants/environment';
import { loginWithGoogle } from '../services/server';
import { useLogin } from '../store/actions/session';

WebBrowser.maybeCompleteAuthSession();

export default function useGoogleLogin(): [boolean, () => any] {
    const login = useLogin();

    const [request, response, promptAsync] = Google.useIdTokenAuthRequest({
        clientId: GOOGLE_CLIENT_ID,
    });

    React.useEffect(() => {
        if (response?.type === "success") {
            const { id_token: idToken } = response.params;
            loginWithGoogle(idToken)
                .then(session => login(session));
        }
    }, [response]);

    const loading = !request;

    const prompt = () => {
        promptAsync();
    };

    return [loading, prompt];
}
First notice tha usage of WebBrowser.maybeCompleteAuthSession(). This is required in certain environments for the authentication procedure to work. In other environments it is a no-op, so it can be added safely.
First notice the Google.useIdTokenAuthRequest hook. It takes a configuration object as input, with the only required key being the Google Client ID. To obtain a Google Client ID you need to configure a project in GCP and create a OAuth 2.0 Client ID. Further information in how to set up Google Client IDs can be found here. Notice that each environment (Expo Go, Android Standalone, iOS Standalone) requires a different key. Make sure to set up your application to use different keys for each environment.
The Google.useIdTokenAuthRequest hook returns three values:
- the
requestobject if no workflow is in progress, or null otherwise. - the
responseobject after an auth workflow has succeeded or failed. - the
promptAsyncfunction that triggers the auth workflow.
We need to track the request to determine whether a workflow is in progress. We also have to track the response object to trigger the login action if the workflow succeeds. Finally, we need to return the prompt function to allow consumers of useGoogleLogin to trigger the authentication procedure.
Once we have a response with a success type, we know we have obtained a Google ID token. Now we can use the loginWithGoogle function to trade it for a valid session token. Once we have a session we have to update the global data store with it. The useLogin hook returns a login function that takes a session as input and updates the global data store using said value.
With all of this we have a working Login screen. Now let’s proceed to the server-side implementation.
Configuring Passport for Google Auth
First let’s set up a Node Project with Typescript enabled. Once we have that we can install the following dependencies:
1
yarn add debug express morgan cookie-parser passport passport-google-id-token jsonwebtoken passport-jwt
We also need to add the following dependencies with the dev flag on so that our typescript compiler will work properly.
1
yarn add -D @types/cookie-parser @types/debug @types/express @types/morgan @types/node @types/passport @types/passport-jwt
Sadly, the passport-google-id-token has no official Typescript bindings at the time of this writing. I had to write my own and put it in the index.d.ts file at the root of the project. What I ended up using was:
1
2
3
4
5
6
7
8
9
10
11
12
13
14
15
declare module "passport-google-id-token" {
    import { Strategy } from "passport";

    type GoogleTokenStrategyOptions = {
        clientID?: string,
    };

    type DoneFunction = (err: Error | null, user?: any) => any;

    type GoogleTokenStrategyCallback = (parsedToken: any, googleId: string, done: DoneFunction) => any;

    export default class GoogleTokenStrategy extends Strategy {
        constructor(options: GoogleTokenStrategyOptions, callback: GoogleTokenStrategyCallback);
    }
}
I’ve also added Prisma to serve as an ORM, Postgres to act as the database and Axios to perform API calls to external services, but you can add whichever services you prefer.
Now, let’s start by writing a function in src/app/middleware.ts that adds useful middleware to the Express Application:
1
2
3
4
5
6
7
8
9
10
11
12
import cookieParser from 'cookie-parser';
import express, { Express } from "express";
import logger from 'morgan';
import path from 'path';

export default function(app: Express) {
    app.use(logger('dev'));
    app.use(express.json());
    app.use(express.urlencoded({ extended: false }));
    app.use(cookieParser());
    app.use(express.static(path.join(__dirname, 'public')));
}
Now we have to configure Passport. Consider the following function in the file src/app/passport.ts:
1
2
3
4
5
6
7
8
9
10
11
12
13
14
15
16
17
18
19
20
21
22
23
24
25
26
27
28
29
30
31
32
33
34
35
36
37
38
39
40
41
42
43
44
45
46
47
48
49
50
import createDebug from 'debug';
import { Express } from 'express';
import passport, { Strategy } from 'passport';
import GoogleTokenStrategy from 'passport-google-id-token';
import { Strategy as JWTStrategy, ExtractJwt } from 'passport-jwt';

import * as User from '../controllers/user';
import { Session } from '../types';
import { GOOGLE_CLIENT_ID, JWT_SECRET } from '../values';

const debug = createDebug('social-login-server:app:passport');

function getGoogleTokenStrategy(clientID: String): Strategy {
    return new GoogleTokenStrategy({
        clientID,
    }, (parsedToken, googleId, done) => {
        debug(`Parsed Token: ${JSON.stringify(parsedToken, null, 4)}`);
        debug(`Google ID: ${googleId}`);
        User.getOrCreateUserByGoogleId(googleId)
            .then(user => done(null, user))
            .catch(err => done(err));
    });
}

function getJWTStrategy(): Strategy {
    return new JWTStrategy({
        jwtFromRequest: ExtractJwt.fromAuthHeaderAsBearerToken(),
        secretOrKey: JWT_SECRET,
    }, (payload: Session, done) => {
        debug(`JWT Payload: ${JSON.stringify(payload, null, 4)}`);

        if (Date.now() >= payload.expiresAt) {
            done(new Error());
            return;
        }

        done(null, payload);
    });
}

export default function(app: Express) {
    app.use(passport.initialize());

    passport.serializeUser((user, done) => {
        done(null, user);
    });

    passport.use('google-id-token', getGoogleTokenStrategy(GOOGLE_CLIENT_ID));
    passport.use('jwt', getJWTStrategy());
}
First we have to initialize passport with the call app.use(passport.initialize()). After that we have to add a serializeUser function to passport. Whenever we login, it transforms the incoming login credentials into a session. We won’t need to do anything here as we will be using the Authentication header, and not cookies. Therefore an identity function will suffice. Finally, we add two strategies to passport:
GoogleTokenStrategy: Extracts the Google ID token from the body of the request. Specifically, it looks for theid_tokenkey in the body.JWTStrategy: Parses the session token into a JSON session object using the secret key. We have configured it to extract the session token from the Authentication header usingExtractJwt.fromAuthHeaderAsBearerToken().
These strategies will add whatever we return using the verify callback to the req.user property of the request. Now let’s add the routes to the app in src/app/routes.ts:
1
2
3
4
5
6
7
8
9
import { Express } from 'express';

import authRouter from '../routes/auth';
import messageRouter from '../routes/message';

export default function(app: Express) {
    app.use('/api/v1/auth', authRouter);
    app.use('/api/v1/message', messageRouter);
}
The authentication router has the following implementation:
1
2
3
4
5
6
7
8
9
10
11
12
13
14
15
16
17
18
19
20
21
22
23
import { User } from '@prisma/client';
import express from 'express';
import jwt from 'jsonwebtoken';
import passport from 'passport';

import * as Session from '../controllers/session';
import { JWT_SECRET } from '../values';

const router = express.Router();

router.post('/google', passport.authenticate('google-id-token'), async (req, res) => {
    const session = await Session.getSessionByUser(req.user as User);
    const credentials = jwt.sign(session, JWT_SECRET);
    res.json({
        data: {
            scheme: 'Bearer',
            credentials,
            expiresAt: session.expiresAt,
        },
    });
});

export default router;
Notice that between the path and the callback we add a passport.authenticate call to tell the application to enforce the google-id-token authentication method for this endpoint. Simple as that. If the Google ID token is valid, the callback will run, otherwise it will return a 401 error code.
With that done, we build a session object and convert it into a valid JSON Web Token. The consumer of this endpoint will want to know the scheme used in the Authentication header (Bearer in this case), the session token (which we send in the credentials property), and when the session expires to improve the user experience.
There is a small caveat to add at this point. Notice that for each of the three possible environments we have mentioned we are going to need different Google Client IDs. But we have used a single one up until now. To work around this issue we can create one authentication strategy for each environment:
1
passport.use('google-id-token-<env>', getGoogleTokenStrategy(GOOGLE_CLIENT_ID_<ENV>));
And create one endpoint for each environment using each of these strategies.
Now let’s move to the message router:
1
2
3
4
5
6
7
8
9
10
11
12
13
14
15
16
17
import express from 'express';
import passport from 'passport';

import * as Message from '../controllers/message';

const router = express.Router();

router.use(passport.authenticate('jwt', { session: false }));

router.get('/', async (req, res) => {
    const message = await Message.getRandomMessage();
    res.json({
        data: { message },
    });
});

export default router;
Because we expect all endpoints to be secured for this part of the application, we enforce JWT authentication at router level with the line:
1
router.use(passport.authenticate('jwt', { session: false }));
Everything after that is business logic.
Results
At this point we have a working Login Screen that allows logging in using Google.
Moreover, we have a Home Screen that shows authenticated users a random message from the server.

At which point we are done with the tutorial.